Materials
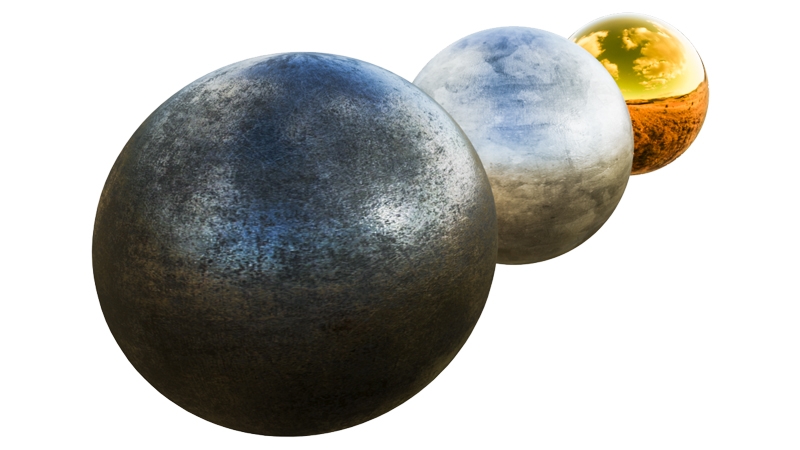
Depence is based on a PBR (Physical Based Rendering) Material concept. Instead of traditional rendering approaches, where artistic values and colors were taken to design a 3D scene, a PBR approach takes more physically correct parameters into account. Especially when it comes to lighting computation, several natural scientific mathematics and rules are used to simulate lighting and materials as realistically as possible.
One important aspect of a PBR pipeline is the definition of materials, which is now not only a color or texture, it is more a physical representation of a surface usually called "PBR Material" or "Substance".
For detailed information about PBR Rendering see: https://en.wikipedia.org/wiki/Physically_based_rendering https://marmoset.co/posts/physically-based-rendering-and-you-can-too/
Create your own PBR Materials: https://www.substance3d.com/products/substance-designer
Source for ready-to-use high-quality PBR Materials: https://gametextures.com/
Change a Material Type
Once an 3D Model is selected, go to the Material Tab in the Settings window, click on Material button.
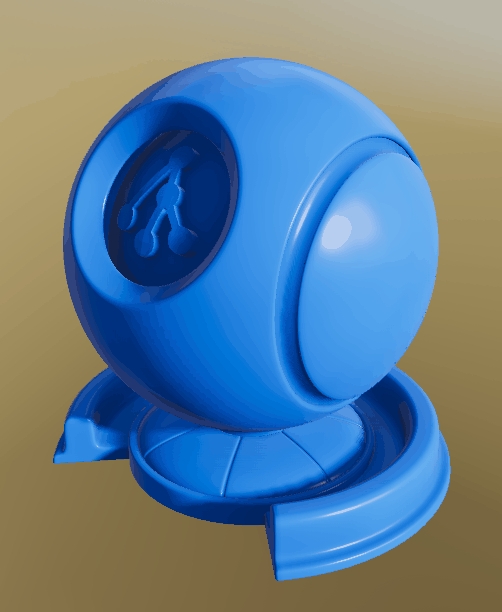
PBR Material
By default, each 3D Model has a bound PBR Material. This Material contains all settings and texture channels. To apply an existing library material to a 3D Model, simply drag & drop material from the library over the 3D model in the viewport.
When selecting your 3D-Model, you can find the Material settings in the Settings window:

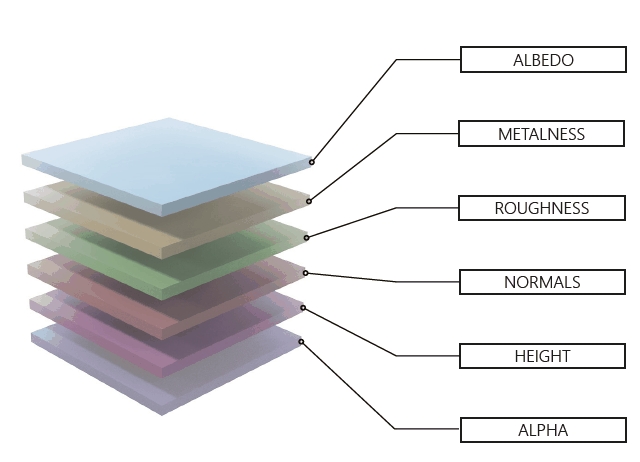
Material Channels
The PBR material consists of 6 different channels: Albedo, Height, Normals, Metalness, Roughness, and Emissive. Most of these channels offer a texture channel along with an offset value.
Diffuse / Albedo (RGB)
This represents the base color of the material. This can be a solid color or a texture.
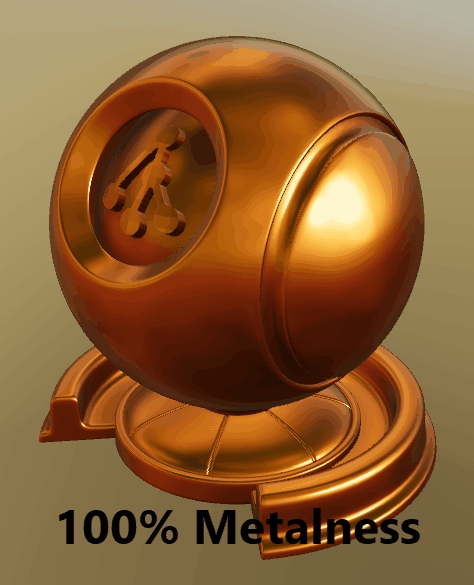
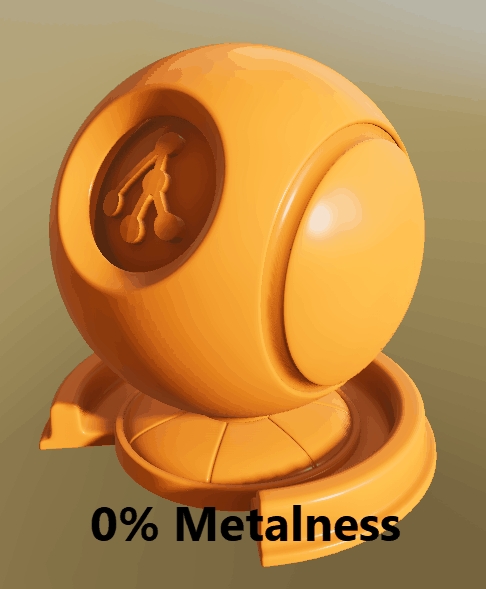
Metalness (Grayscale)
All differences in reflectance and absorption of natural surfaces can be split into two different types: Electric (Metals) and Dielectric (Plastics, Fabric, etc.). The Metalness value defines the transition between these types. 0=Dielectric 100%=Metallic
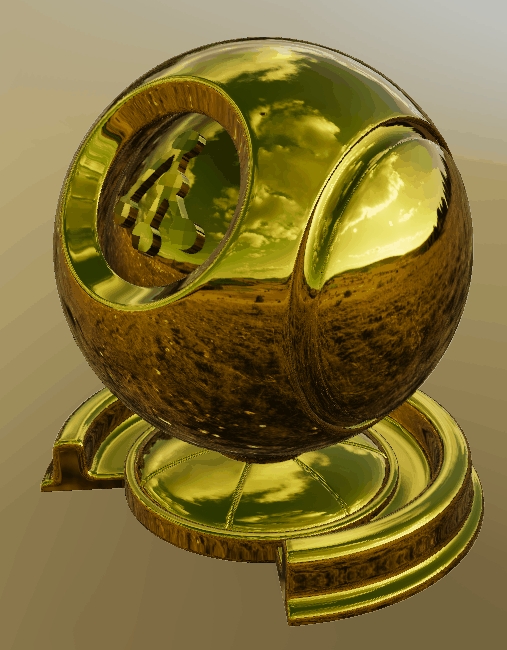
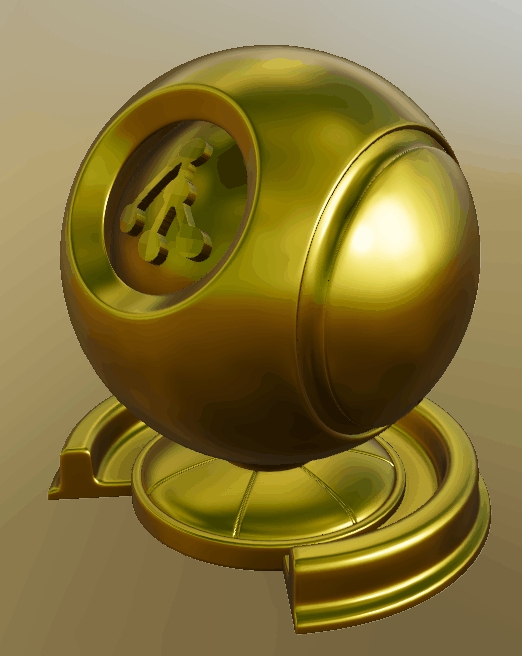
Roughness (Grayscale)
The Roughness channel describes how rough or smooth the surface is, which has a big influence on how it reflects the light and environment. 0%=smooth (like a mirror), 100% = full rough (like a paper)
Normals (RGB)
Normal Maps are used to add 3D details to the surface. These normal maps store a surface normal vector in tangent space. While Depence² uses a left-handed coordinate system it uses the following normal map orientation: Red=X+ Green=Y- Blue=Z+. Depence uses "DirectX-style" normal maps which are -Y:

Example of a normal map.
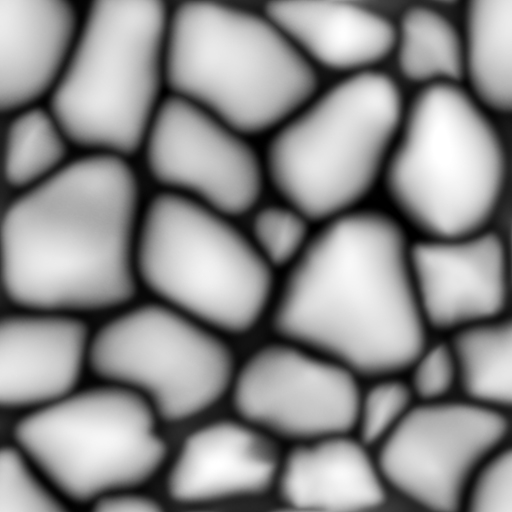
Height (Grayscale)
In addition to Normal Mapping the Heights are used to create the 3D illusion of bigger high detailed structures. Therefore a grayscale image is used where Black = lowest height and White = Max Height

UV Mapping
The UV-Mapping of a 3D Model defines how a texture will be applied on models polygons. These UV's are usually stored within the 3D-Model. In some cases, these won't be scaled correctly. Therefore each material has additional properties:
UV Scale
Scales the texture on the model.
UV Offset
Moves the texture on the model.
Texture Mapping
UV Mapping: Uses default mapping.
Box-Mapping: Computes UVs in a Box perspective.
Tile-Size
When using Box-Mapping this defines the size in square meters of one tile.
Animate UV
constantly moves the UV coordinates by the UV-offset values
Transparency
This option allows to make an object transparent or masked out by an alpha mask.
Translucent
makes the object transparent *
Alpha Texture
Mask out an object based on a black/white texture
Alpha from Diffuse
Uses the alpha channel from the Diffuse texture for masking
Diffusion
Creates kind of milky glass effect depending on the roughness
Once an object is rendered with transparency, the lighting calculations having a huge performance impact. This scales with the number of light & transparent objects. So only use transparency when really necessary and on few objects.
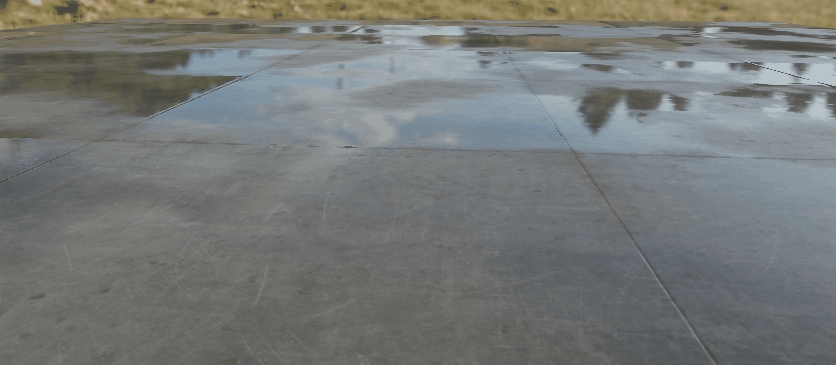
Weathering
These properties create a procedural wetness effect on the surface.
DMX Control
The diffuse color of the PBR Material can be directly controlled by values (RGB) from the internal DMX Buffer. This makes it possible to quickly realize LED surfaces/objects.
You can patch the DMX Matrix fixture with the RGB profile to control the color material emission.
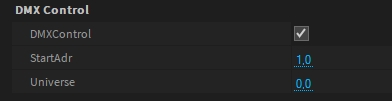
Please note that the Universe value is zero-based.
This feature is deprecated and will be removed in a future version. Please use the DMX Matrix feature which has more possibilities.
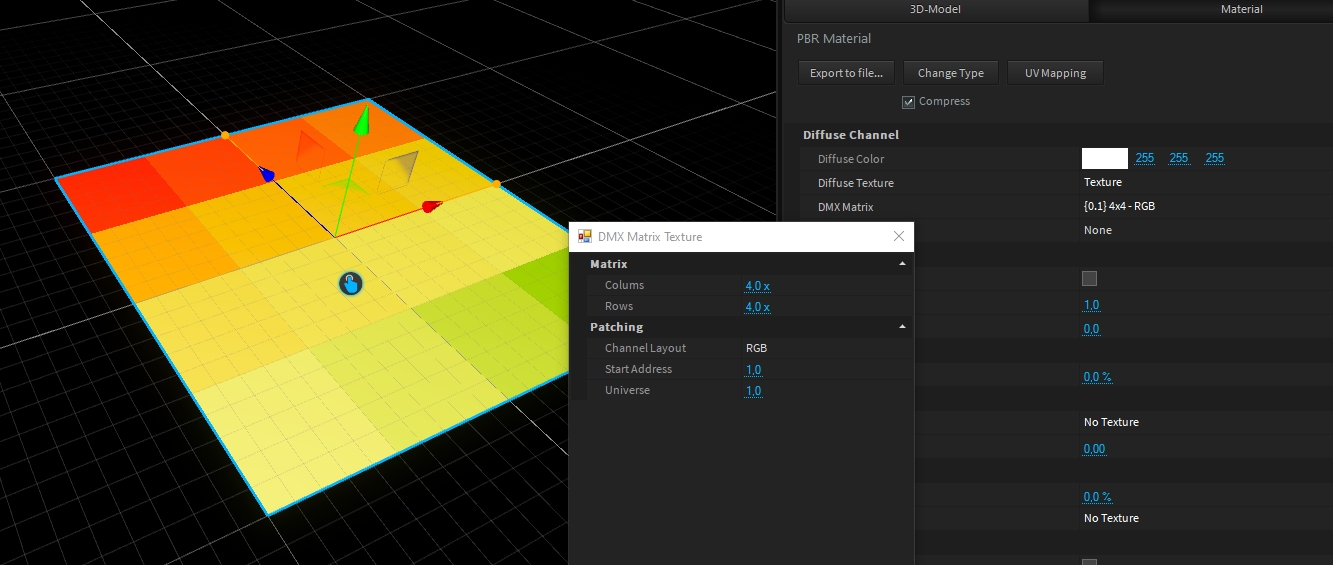
DMX Matrix
The DMX-Matrix feature creates a UV-mappable Matrix texture based on DMX values. This feature can be used to simulate thousands of LED fixtures without the performance overhead of individual fixtures because it directly reads DMX values from the internal buffer.
Material Settings
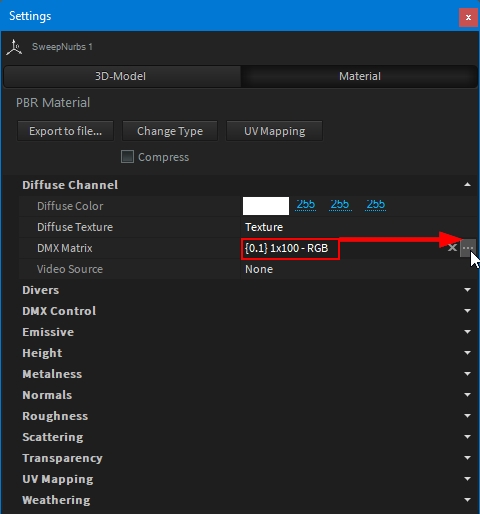
To add the DMX-Matrix feature on a model, access its Material settings, and click on the "..." button:
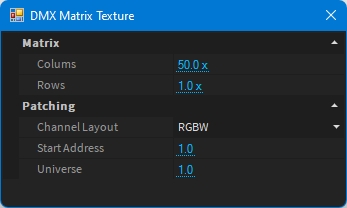
DMX Matrix Texture Properties
Columns
Number of Pixel per column
Rows
Number of Pixel per row
Channel Layout
DMX Channel layout as: - RGB: Red Green Blue - GRB: Green Red Blue - RGBW: Red Green Blue White - WRGB: White Red Green Blue - RGB16: Red Green Blue in 16bit - GRB16: Green Red Blue in 16bit - RGBW16: Red Green Blue White in 16bit - WRGB16: White Red Green Blue in 16bit
Start Address
DMX start address for the given universe
Universe
DMX Universe to start to patch
Close the window to validate your settings.
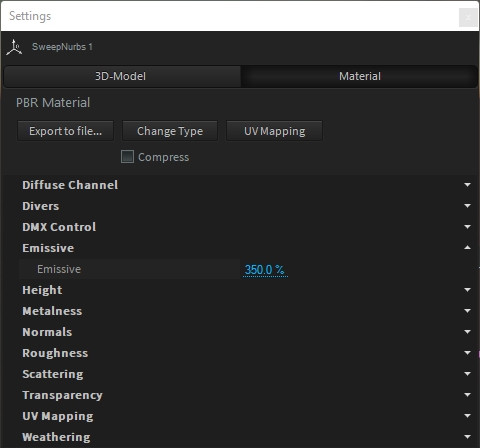
Emissive
The DMX-Matrix is material based. To make it emissive (visible in the dark), don't forget to raie the Emissive factor (maximum value is 500%):
DMX Matrix control
Now your material is ready to be used. You can patch the DMX Matrix fixture from the fixture library:

The DMX Matrix fixture has the same mode as the DMX Matrix Texture, select the one you have set.
You need to patch as many DMX Matrix fixtures as your DMX Matrix Texture has (Columns x Rows)
Note: - DMX Matrix fixture only controls 1 pixel at a time. - Their position in world space is not important, they are not represented in 3D.
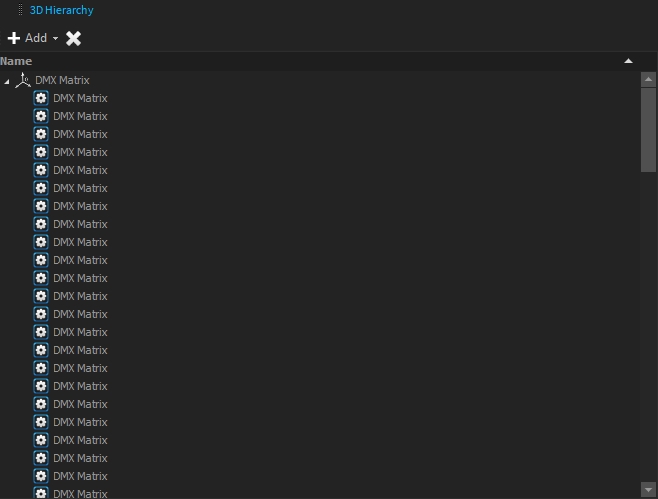
Group DMX Matrix
To keep your project 3D Hierarchy as clean as possible, you can group all your DMX Matrix fixtures:
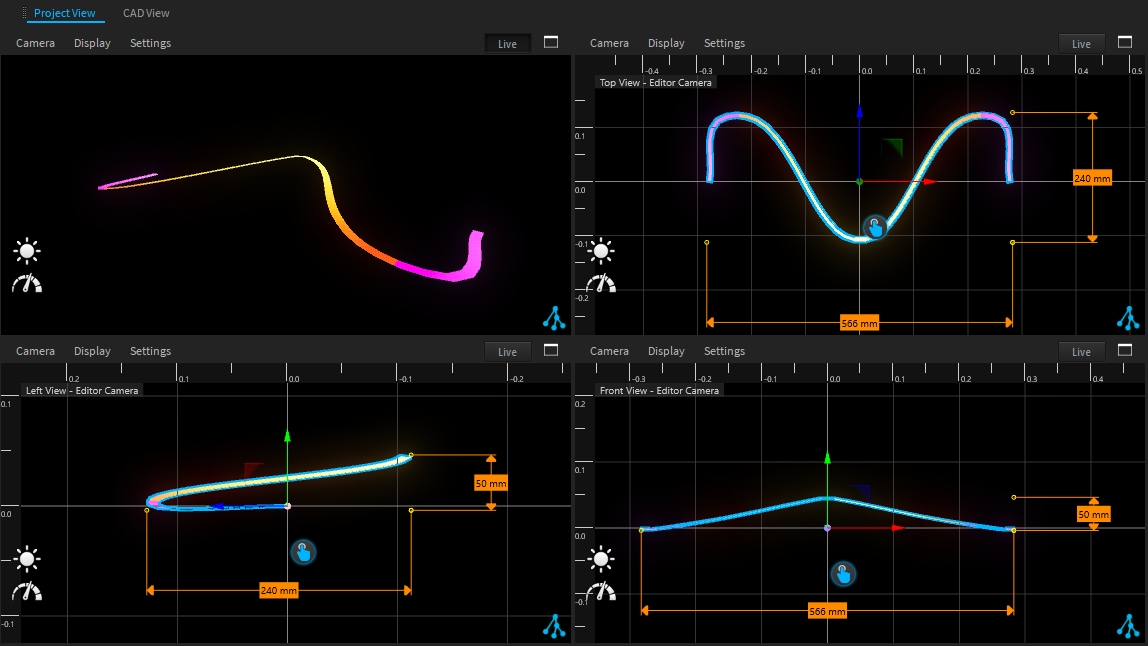
Examples
Depence primitives

Sweep Nurbs (with a spline)
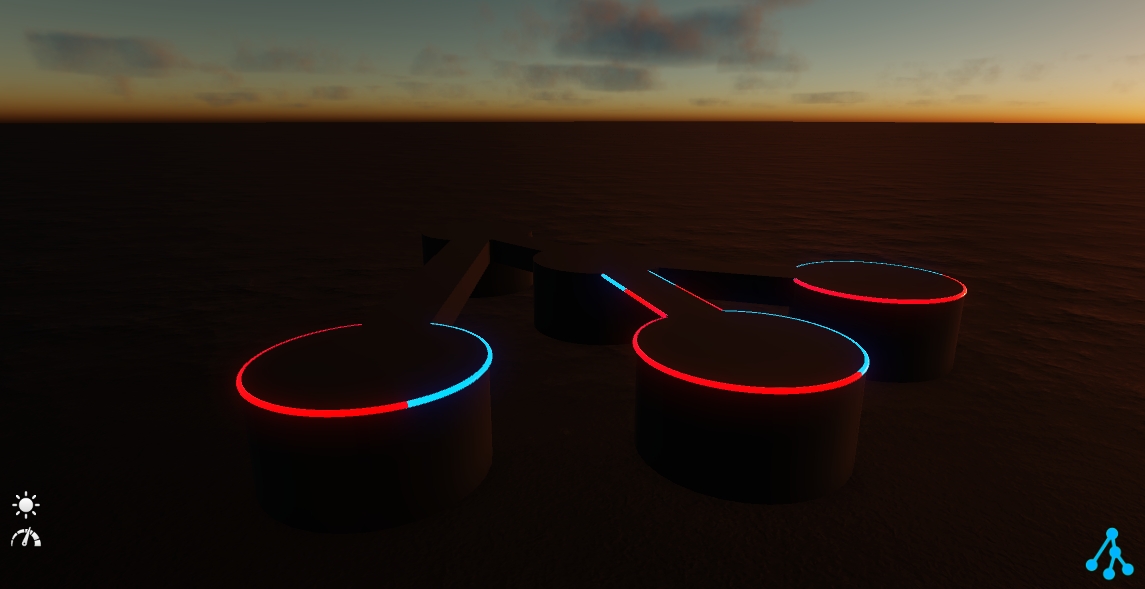
Custom 3D model
Chroma-Key
Especially for virtual events we have added a proper chroma-key feature to mask out defined colors from the diffuse channel.
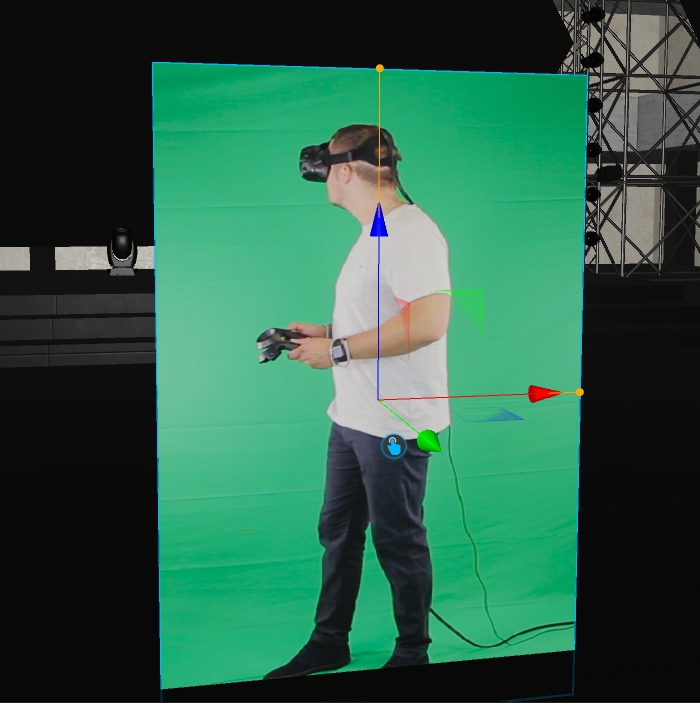
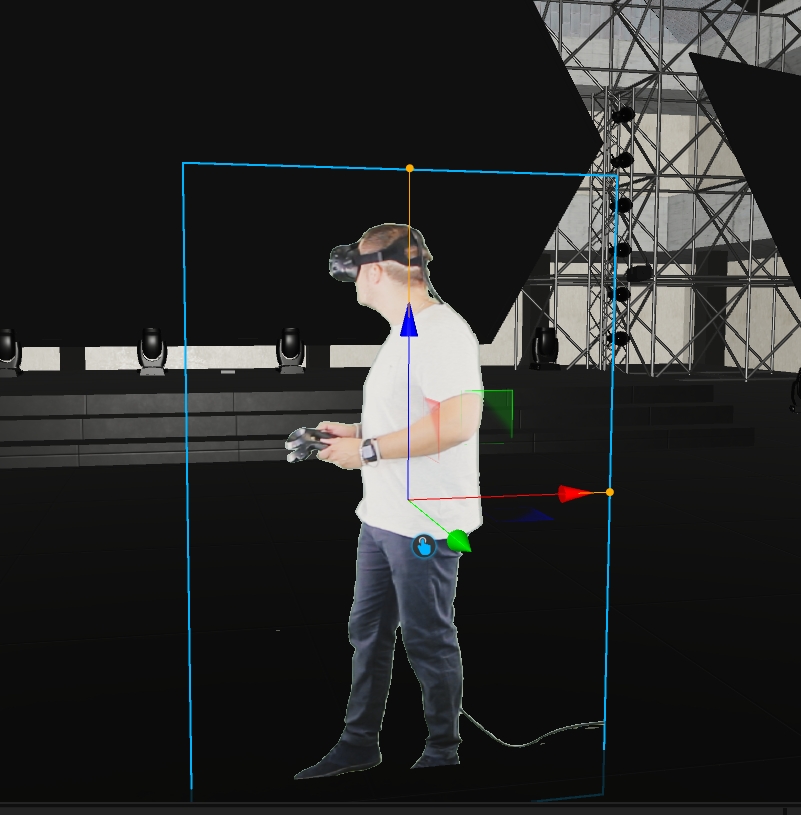
In the PBR Material Settings at the Transparency category, you can find all Chromakey settings.
Chroma-Key
Activates the chroma-key filter
Chroma-Key Color
The color to be removed
Threshold high
Variable hue threshold
Threshold low
Variable hue threshold
Despill
Removes the green tint
Despill intensity
Amount of despill
Despill luminance
Luminance of despill
Water Material
Depence comes with several ready-to-use water materials, which can be found in the library at > Materials > Nature > Water.
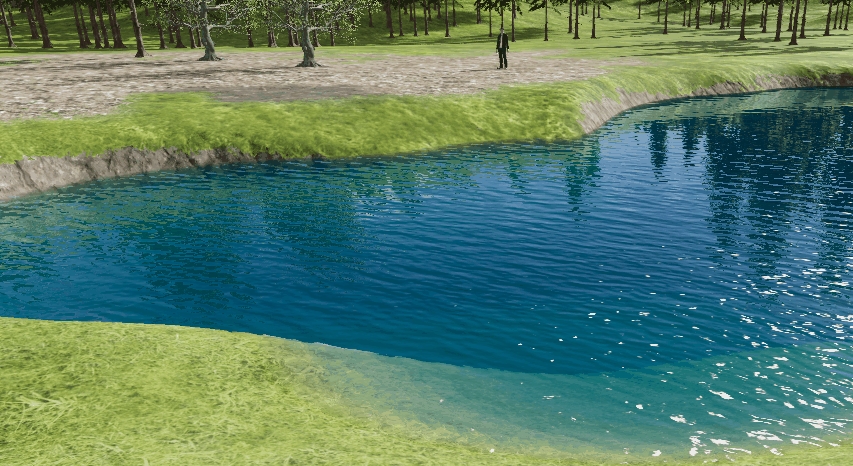
As with all other materials use Drag & Drop to apply a water material on a 3D Model.
Water Material Settings
Color Deep
Color for deep water.
Color Shallow
Color for shallow water.
UV-Mapping
UV or Box Mapping.
Tile Size
Size per Tile.
Turbidity
Change the turbidity of the water.
Animation Speed
Changes the speed of normal animation.
Bump Scale
Changes the wave height.
Normal Texture
Custom Waves Normal Map.
Scale X/Y
Scales the Normal Map.
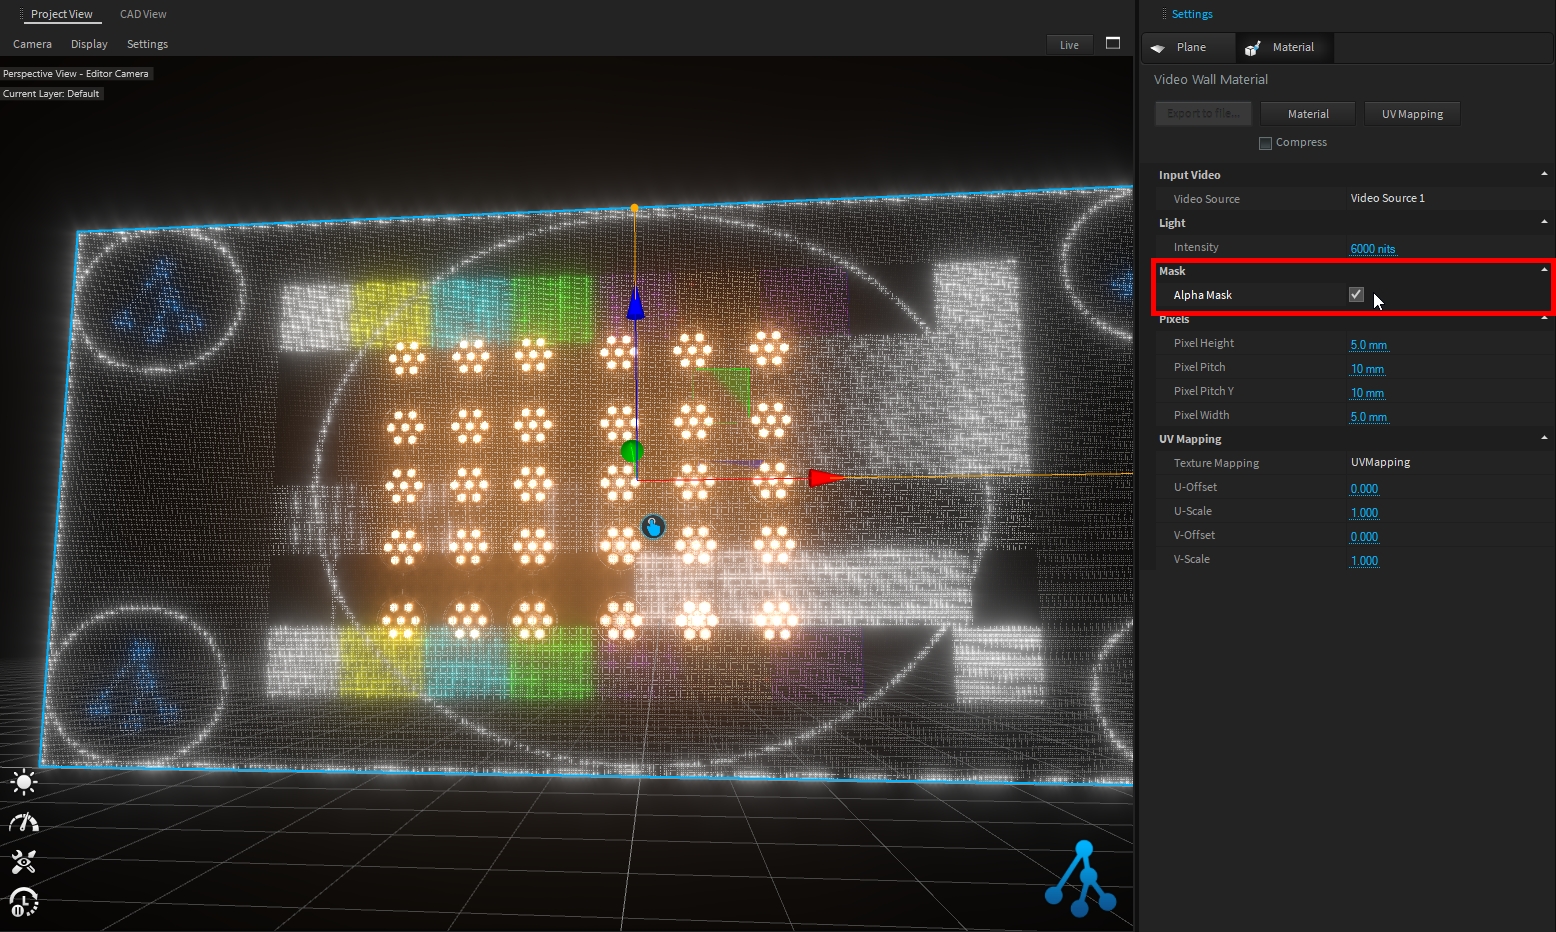
Video-Wall Material
This material simulates LED video panels with different pixel pitch settings.
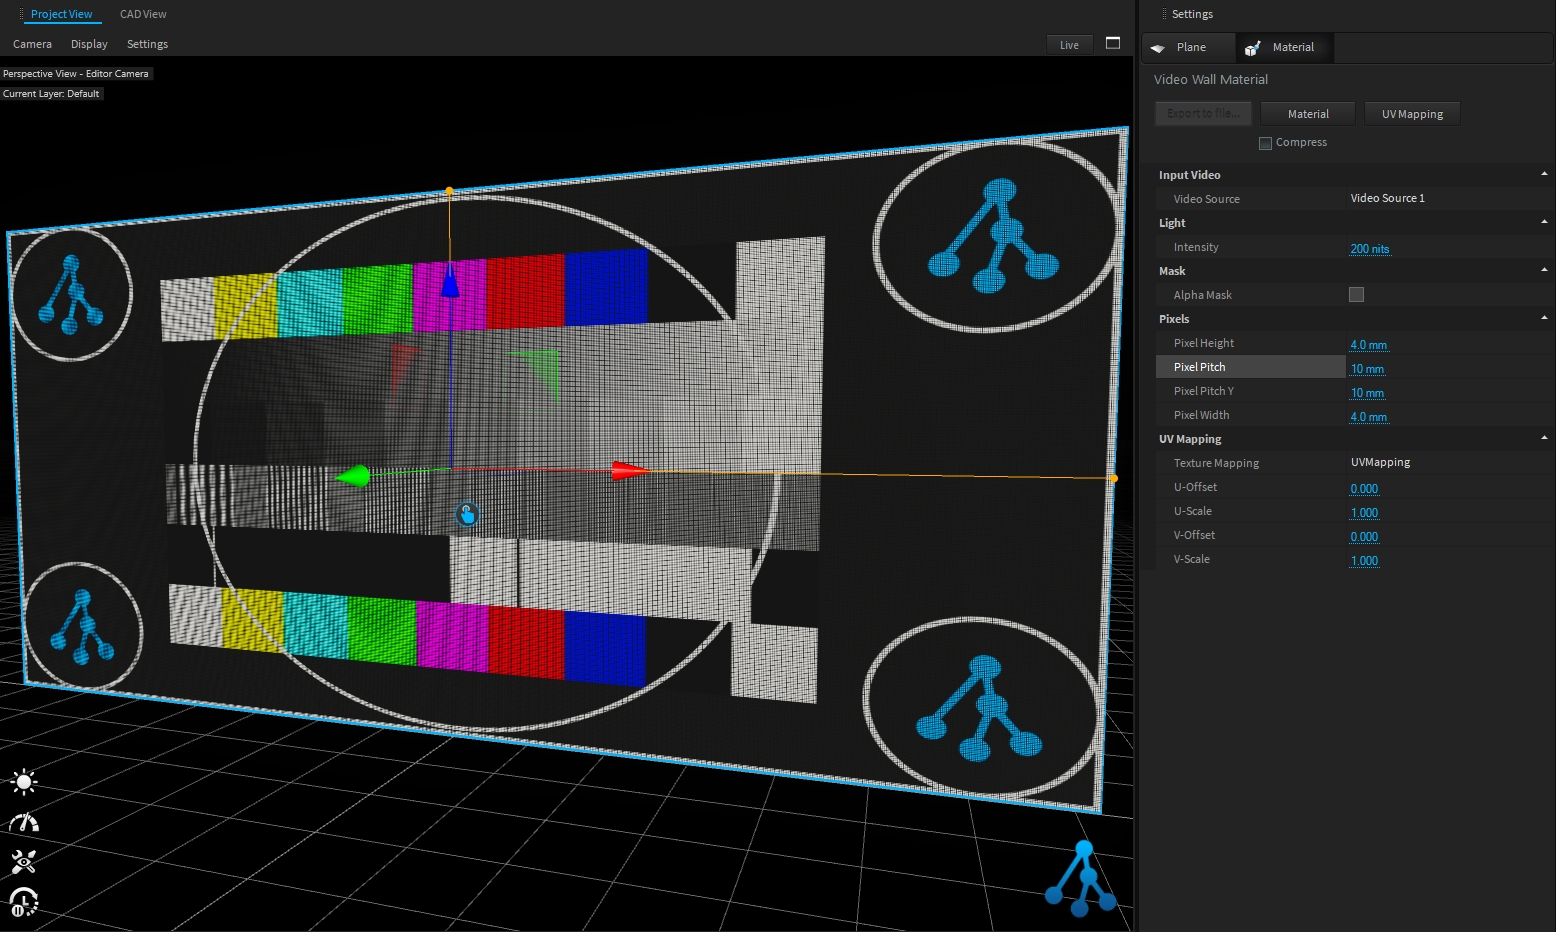
The pixels size and pitch can be adjusted to match your screen configuration from Pixels settings:
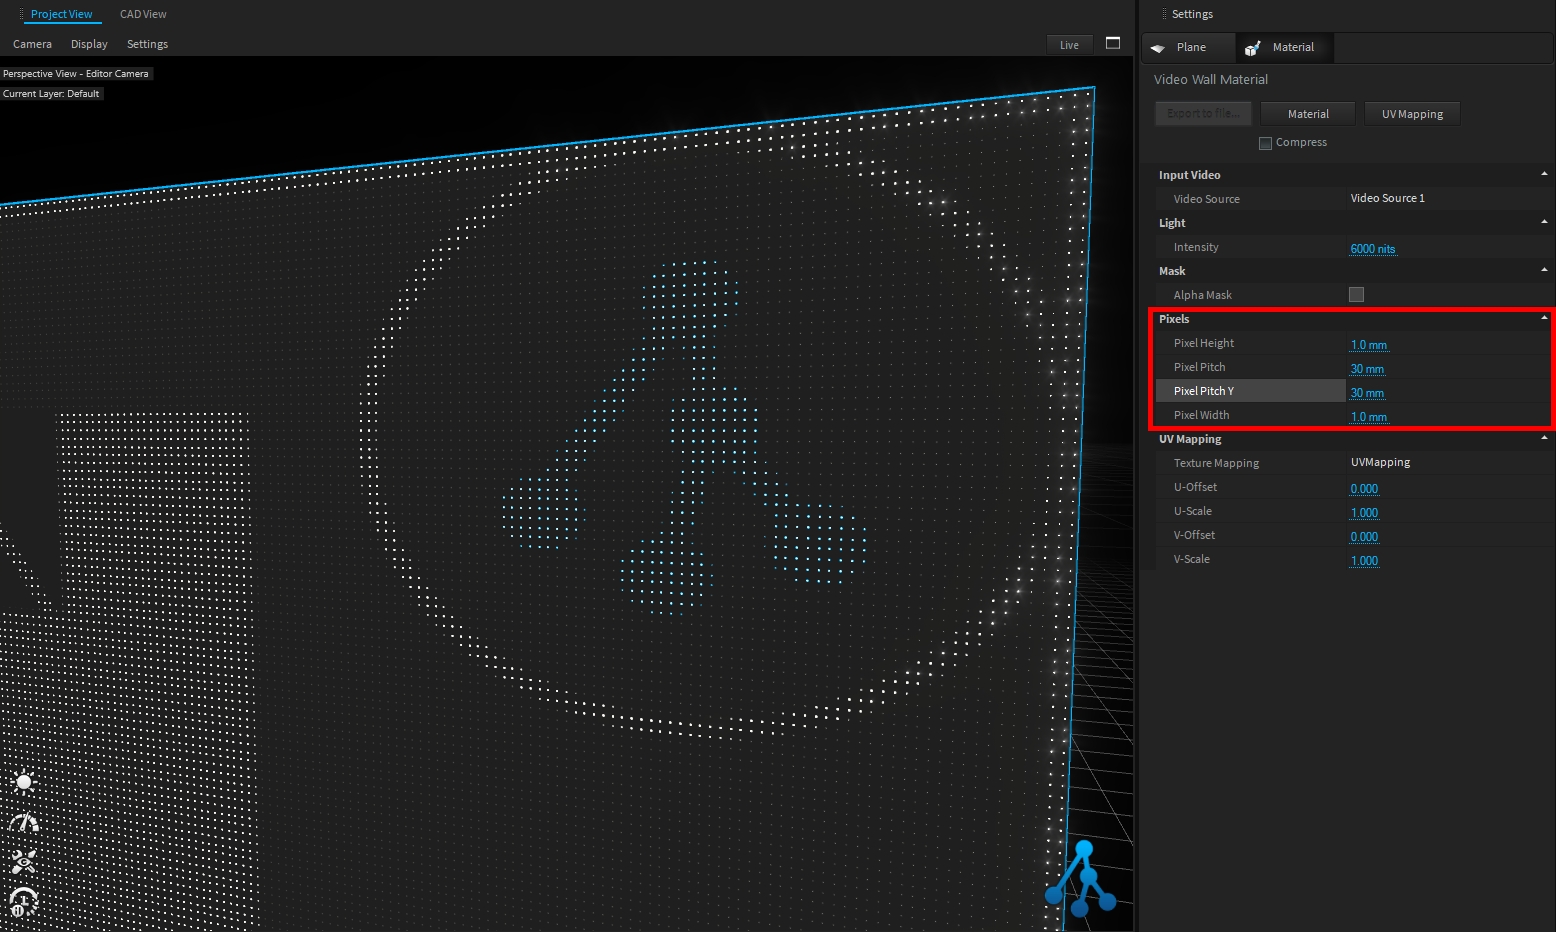
The screen intensity (unit is nits), can be adjusted from Light settings:
The AlphaMask option allows you to create transparent video wall: